How to squat with a barbell correctly: technique, mistakes and a program for beginners
The barbell squat is one of the few exercises that simultaneously develops strength, muscle volume and functional mobility. Yet it leads to injuries more often than most when the technique is learned without proper attention.
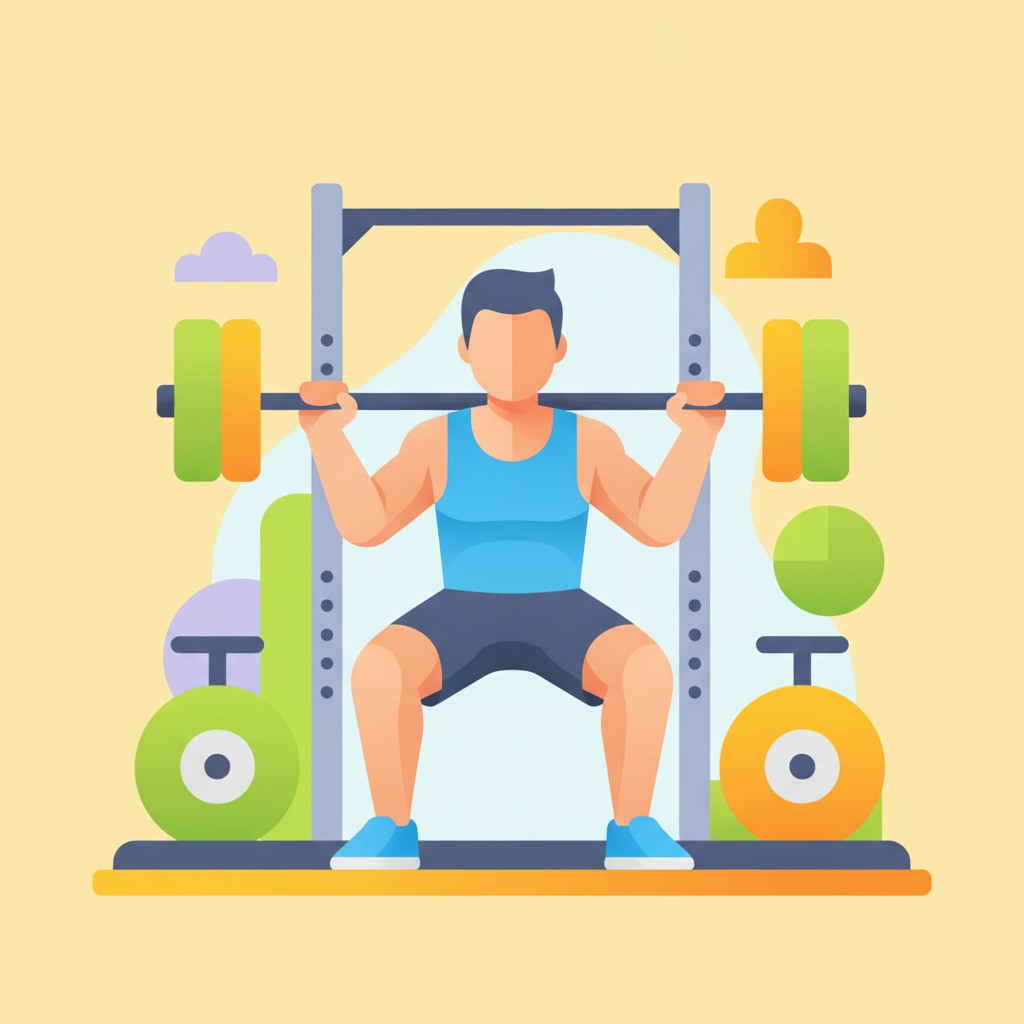
The barbell squat is one of the few exercises that simultaneously develops strength, muscle volume and functional mobility. Yet it leads to injuries more often than most when the technique is learned without proper attention. In this article you will find a step-by-step barbell squat technique, a breakdown of common mistakes and a ready-made program to get started.
Why the barbell squat is considered a foundational exercise
The squat is part of the big three strength exercises alongside the deadlift and the bench press — and for good reason. It engages the largest muscle groups in the body: the quadriceps, the gluteus maximus and the spinal erectors. These groups form the foundation of physical strength and determine overall muscle tone.
From a practical standpoint, the squat replicates a movement you perform every day: getting up from a chair, picking objects up off the floor, climbing stairs. Well-developed functional strength in this movement pattern directly reduces joint stress in daily life.
In addition, training with heavy weights in multi-joint exercises triggers the release of anabolic hormones — testosterone and growth hormone. This means that regular squatting influences overall muscle growth throughout the body, not just in the legs.
Finally, the squat serves as an indicator of movement quality. If you lack mobility in your ankles, hips or thoracic spine, your technique will reveal it immediately. This is why many coaches begin their assessment of an athlete's physical condition with this very exercise.
If you are just starting out with strength training, we recommend reading the complete guide to strength training for beginners — it will help you build the right foundation before you pick up a barbell.
Which muscles work during the barbell squat
Understanding the muscular anatomy of an exercise helps you train with intention and adjust your technique to suit specific goals.
Primary muscles:
- Quadriceps — the four-headed thigh muscle, the main knee extensor; takes the greatest load during deep squats with a vertical torso.
- Gluteus maximus — extends the hip joint in the top phase of the movement; activated more strongly when the torso leans forward and the stance is wider.
- Hip adductors — stabilise the knees and assist in hip extension, especially with a wide stance.
Assisting muscles:
- The biceps femoris and semitendinosus work at the bottom position and during the ascent.
- The gastrocnemius and soleus provide ankle stability and assist in pushing off the floor.
Stabilisers:
- Core muscles (transverse abdominis, multifidus) keep the spine in a neutral position under load.
- Spinal erectors counteract lumbar flexion.
- The trapezius muscles keep the bar in the correct position.
It is important to understand that the distribution of load between the glutes and the quadriceps depends on stance width, torso lean angle and bar position. By changing these parameters you can shift emphasis to the desired muscle groups.
Equipment needed and preparation for the exercise
Before picking up a barbell, make sure you have the right equipment and have completed a thorough warm-up.
Equipment:
- Bar: a standard Olympic barbell weighs 20 kg and is 220 cm long. A 15 kg bar suits beginners with a lighter body weight.
- Power rack or squat stands: the bar height on the stands should be at upper-chest level — just below the shoulders. This allows you to unrack and re-rack the bar without excessive effort.
- Safety spotters: set them just below the bottom of your squat. If you cannot stand up, lower the bar onto the spotters.
- Footwear: a flat, rigid-soled shoe (Converse, weightlifting shoes) provides stability and correct force transfer through the heel. Running shoes with soft cushioning are not suitable: the heel "sinks" and disrupts biomechanics.
Joint warm-up (5–7 minutes):
- Ankle rotations — 10 circles in each direction.
- Bodyweight squats — 2 × 10 reps.
- Stationary lunges — 2 × 8 on each leg.
- Standing hip circles — opens the hip joint.
- Cat-cow — mobilises the thoracic spine.
Read more about warm-up and flexibility in the article stretching for beginners.
Step-by-step barbell squat technique for beginners
Mastering correct barbell squat technique is a process that takes several weeks. Do not rush to add weight: first ingrain the movement pattern with an empty bar.
Step 1: Unracking the bar Step under the bar and position it on your upper trapezius muscles (high bar). Grip the bar symmetrically, approximately 15–20 cm wider than your shoulders. Take a breath, brace your core, stand tall and take two steps back from the rack.
Step 2: Foot position Place your feet slightly wider than shoulder width. Turn your toes out 15–30 degrees — the exact angle is individual and depends on hip anatomy. Weight is distributed evenly across the entire foot, from heel to the balls of the toes.
Step 3: Initiating the descent Take a deep breath and create intra-abdominal pressure (the Valsalva manoeuvre). Simultaneously push your hips back and down, bending your knees. The knees travel in the direction of the toes — they do not cave inward.
Step 4: The bottom position Descend until your thighs are parallel to the floor or below. The spine maintains a neutral position — the lower back does not round, the chest does not "collapse" forward. Heels remain pressed to the floor.
Step 5: The ascent Drive your heels into the floor while simultaneously extending the knees and hips. The pace of the ascent should be controlled but assertive. Exhale at the moment of greatest effort as you pass through the "sticking point" (approximately the first third of the ascent).
Step 6: Completing the rep Stand fully upright, but do not hyperextend your knees or lower back. Take a brief breath and begin the next repetition.
High bar and low bar: what is the difference and which should a beginner choose
The position of the bar on your back fundamentally changes the biomechanics of the exercise and which muscles bear the primary load.
High bar squat: The bar rests on the trapezius muscles, around the seventh cervical vertebra. The torso stays more vertical, the knees travel further forward and greater depth is more accessible. The primary load falls on the quadriceps. This is the classic variant for bodybuilding and for beginners.
Low bar squat: The bar sits 5–7 cm lower — on the rear deltoids. The torso leans forward more, the hips push back further, which activates the glutes and the hamstrings more strongly. This variant is popular in powerlifting because it allows for greater absolute loads. However, it requires good wrist, shoulder-girdle and thoracic-spine mobility.
Recommendation for beginners: start with the high bar. It is easier to learn, puts less stress on the wrists and shoulders and the movement feels more natural. Once you can confidently control your technique with the high bar, you can experiment with the low bar position.
Common barbell squat mistakes and how to fix them
Even experienced athletes make technical errors from time to time. Let us look at the most frequent ones.
1. Lower-back rounding ("butt wink") Causes: weak core, insufficient hip or ankle mobility, excessive depth relative to current flexibility. Fix: strengthen the core with planks and back extensions; limit squat depth to a comfortable range; work on ankle mobility.
2. Knees caving inward (valgus) Causes: weak glutes and adductors, incorrect foot position. Fix: actively "push" your knees outward throughout the entire movement; add glute bridges and banded hip abductions to your programme.
3. Heels rising off the floor Causes: insufficient ankle mobility, unsuitable footwear. Fix: stretch your calves and ankles; try weightlifting shoes with an elevated heel; temporarily place weight plates under your heels — this demonstrates the correct mechanics.
4. Hips rising too early ("good morning" squat) Causes: weak quadriceps, attempting too much weight. Fix: reduce the working weight; consciously push your knees forward at the start of the ascent.
5. Breath-holding without creating pressure Causes: unfamiliarity with breathing technique under load. Fix: before descending, take a deep breath, brace your abs and hold the pressure until you have passed the sticking point.
Read more about beginner mistakes in the gym in the article 5 main mistakes beginners make in the gym.
6-week barbell squat programme for beginners
This programme is suited to those who are just learning the barbell squat technique. Squats are performed 2–3 times per week with a rest day between sessions.
| Week | Sets × reps | Working weight | Note |
|---|---|---|---|
| 1–2 | 3 × 8 | Empty bar | Drilling technique |
| 3–4 | 3 × 8 | +5–10 kg to the bar | Add weight only when technique is confident |
| 5 | 4 × 6 | +5 kg from previous week | Reduce reps, increase weight |
| 6 | 4 × 5 | +5 kg | Strength benchmark week |
Progression principles:
- Add weight only when you complete all reps with clean technique.
- If your technique starts to break down, roll back to the previous weight.
- Rest between sets: 2–3 minutes.
To incorporate squats into a complete training programme, read the article how to build a training programme on your own. And if you want load progression to be managed automatically, see how an AI coach handles weight progression.
Foot position in the squat: how to find your own stance
Stance width and toe-out angle are entirely individual parameters that depend on hip structure and limb length. There is no universal formula, but there are useful guidelines.
Narrow stance (feet at shoulder width or closer): increases emphasis on the quadriceps, requires high ankle mobility. Suits people with long femurs and good flexibility.
Medium stance (slightly wider than shoulder width): optimal for most beginners, loads all target muscles evenly.
Wide stance (sumo style): reduces ankle demands, increases activation of the adductors and glutes. Suits people with a wide pelvis.
How to find your stance:
- Lie on your back and bend your knees to 90 degrees.
- Relax your hips and let them "fall" into a natural position.
- The angle between your thighs is your optimal stance width.
FAQ: frequently asked questions about the barbell squat
Can you squat with a barbell every day? For beginners, daily barbell squats are excessive load. Muscles and connective tissue adapt over 48–72 hours. The optimal frequency for novices is 2–3 times per week with rest days between sessions. As experience grows and recovery improves, frequency can be gradually increased. Professional powerlifters may train the squat 4–5 times per week, but this is the result of years of adaptation.
How deep should you squat? The target depth is thighs parallel to the floor or below ("to depth"). A full squat (ATG, ass to grass) provides maximum range of motion and muscle stimulus but requires high mobility. For beginners it is acceptable to start at parallel and gradually increase depth as flexibility develops. The key rule: depth must never be achieved at the expense of rounding the lower back.
Does a beginner need a lifting belt for squats? Beginners do not need a belt and it may even be counterproductive: it compensates for core weakness instead of developing it. A weightlifting belt is a tool for near-maximal and maximal loads in experienced athletes. Start without a belt, develop your core with planks, stomach vacuums and back extensions. Consider a belt when your working weight exceeds one and a half times your bodyweight.
Why do my knees hurt after squatting? Knee pain most often stems from valgus (knees caving inward), an insufficient warm-up or incorrectly chosen weight. If the pain is sharp, stop training and see a doctor. If the discomfort is moderate and appears during the movement, check your technique: make sure your knees travel over your toes and your heels do not lift off the floor. Unsuitable footwear may also be a cause.
What weight should you start barbell squatting with? Begin with an empty bar (20 kg) or even a wooden dowel. The goal of the first two weeks is technique, not weight. Only when you can confidently complete 3 sets of 8 reps with perfect form should you add 5–10 kg. Rushing the weight is the main cause of injuries and poor movement patterns that are hard to correct later.
💪 Whether you train at home, in the gym or outdoors — F/AI, the AI coach app (fitgpt.pro), selects exercises based on available equipment and substitutes them in case of injury. Install the app →
Try F/AI — AI Fitness Trainer
Personalized workout plans, AI trainer chat, photo body analysis.
Download for free