How to Squat with a Barbell: Form, Bar Position and Stance Explained
Bar position, grip and stance for the barbell squat, a step-by-step form breakdown, and how to choose between low bar and high bar as a beginner.
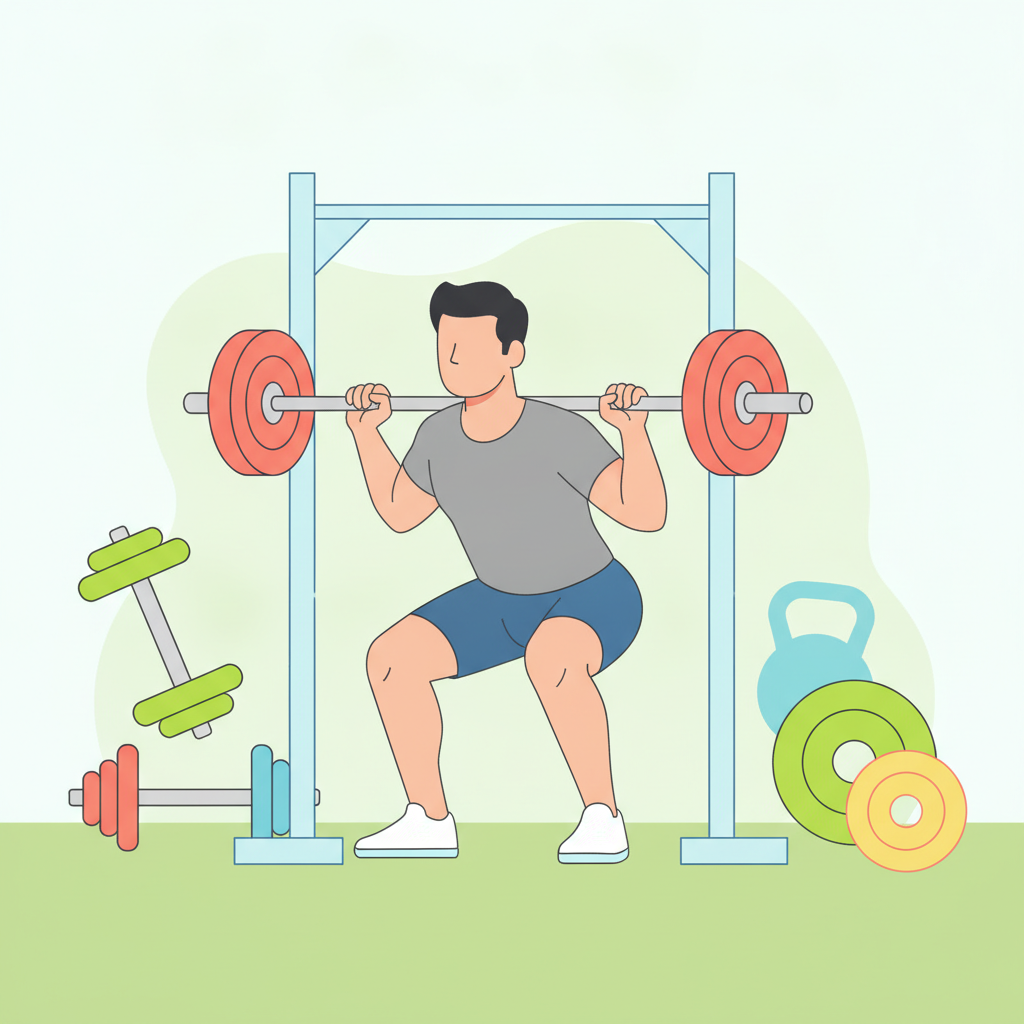
The barbell squat is one of the most effective strength exercises you can learn. It builds muscle, develops functional power, and transfers directly to athletic performance. But doing it wrong leads to injury, wasted effort, and stalled progress. This guide gives you a complete, no-fluff breakdown of how to squat with a barbell — from rack setup to rep execution — so you build the movement correctly from day one.
Why the Barbell Squat Should Be in Your Training Program
The barbell squat earns its reputation as the king of lower-body exercises because of how many muscles it demands at once. Your quadriceps drive the knee extension, your hamstrings and glutes control the descent and power the ascent, your core stabilizes the spine under load, and your upper back keeps the bar from collapsing you forward. Few exercises recruit that much total muscle mass in a single movement.
That full-body demand is exactly why barbell squats are so effective for building strength and muscle. Research consistently shows compound lower-body movements produce strong anabolic responses, meaning more growth hormone and testosterone output compared to isolation exercises. If gaining size and raw strength are your goals, squatting belongs in your program.
For athletes, the carry-over is even clearer. The squat pattern — loading the hips and knees under a compressive force — mimics jumping, sprinting, and change-of-direction mechanics directly.
Learning the movement early in your training career matters because your body adapts most rapidly in the beginner phase. Those early weeks of correct barbell squat technique build motor patterns that compound over months and years of training.
Later in this guide, you'll see how variations like the high bar squat, low bar squat, and goblet squat differ so you can choose the right starting point.
Essential Equipment and Safety Setup Before You Squat
Before loading a barbell, get the setup right. Mistakes here create unnecessary risk.
Barbell and plates: A standard Olympic barbell weighs 45 lbs (20 kg). For beginners, this is often the right starting load on its own. If that's too heavy, look for a 35 lb training bar. Use bumper or iron plates — avoid mixing diameters unless you intentionally adjust rack height.
Rack setup: Use a power rack whenever possible. A power rack has four upright posts and adjustable safety bars that catch the bar if you miss a rep — critical when training alone. A squat rack (two uprights, open design) works but offers less protection. Set the J-hooks at roughly upper-chest height so you're not reaching up or crouching down to unrack.
Collars and clips: Always use them. Plates sliding off mid-set throws your balance and can cause serious injury.
Footwear: Flat-soled shoes — Chuck Taylors, Vans, or purpose-built lifting shoes — give you a stable base. Cushioned running shoes compress unpredictably under load and undermine ankle stability. Squat shoes with an elevated heel help lifters with limited ankle mobility maintain an upright torso.
Spotter: If a power rack isn't available, always squat with a trained spotter who knows how to assist from behind, not in front.
Barbell Squat Setup: Bar Position, Grip, and Stance
How you position the bar on your back determines your entire squat mechanics.
High bar: The bar rests on your trapezius muscle at the base of your neck. This keeps your torso more upright and places greater demand on your quads.
Low bar: The bar sits lower, across your rear deltoids. This shifts load toward your hips and hamstrings and allows more forward lean. More on this in the low bar vs high bar section below.
Grip: Take a grip slightly wider than shoulder-width. Pull your elbows down and back to create a muscular shelf for the bar. Keep your wrists neutral — avoid letting them bend back under the bar's weight, which stresses the joint. Thumbs can wrap around the bar or rest over the top (false grip).
Stance width and toe angle: Stand roughly hip-width to shoulder-width apart. Point your toes out 15–30 degrees, matching the natural orientation of your hips. There's no universal "correct" stance — test positions and find what lets you hit depth with a neutral spine.
Unracking: Take a breath, brace your core, and lift the bar off the hooks by extending your legs. Step back with two controlled steps — not five shuffles. Plant your feet in your chosen stance before starting any reps.
Gaze and brace: Fix your eyes on a point slightly above horizontal. Lock your core by taking a deep breath and bracing as if you're about to be punched in the stomach.
Step-by-Step: How to Perform the Barbell Squat with Correct Form
Follow these six steps on every single rep.
-
Breathe and brace. Inhale deeply into your belly using the Valsalva maneuver — fill your diaphragm, hold the air, and create intra-abdominal pressure. This protects your spine under load.
-
Break at the hips and knees simultaneously. Don't sit straight down and don't hinge like a deadlift. Both joints should begin flexing at the same moment, sending your hips back and down.
-
Keep your chest up and knees tracking outward. Your torso will lean forward slightly — that's normal. What you're preventing is your chest caving toward your thighs. Push your knees out in the direction of your pinky toes throughout the descent.
-
Hit parallel or below. Your hip crease should drop to or below the top of your knee. This is the range that fully activates the glutes and hamstrings. Never sacrifice a neutral spine for more depth.
-
Drive through the full foot and stand. Press your feet into the floor, squeeze your glutes, and extend your hips and knees together. Don't let your hips shoot back first — rise as a single unit.
-
Exhale and reset. Breathe out at the top once your hips are locked. If doing multiple reps, reset your breath at the top before descending again.
Most Common Barbell Squat Mistakes and How to Fix Them
Even experienced lifters fall into these patterns. Identify yours and apply the fix.
-
Knee cave (valgus collapse): Your knees collapse inward during descent or ascent. Usually caused by weak glutes or poor motor control. Cue: "spread the floor" with your feet or "push knees out." Add band-resisted squat warm-ups to reinforce the pattern.
-
Butt wink: The pelvis posteriorly tilts (tucks under) at the bottom of the squat. A small amount is acceptable, but excessive wink flexes the lumbar spine under load. Cause is often limited hip or ankle mobility. Fix: work hip flexor and adductor stretches, limit depth temporarily until mobility improves.
-
Chest drop and forward lean: Usually upper back weakness or incorrect bar placement. Fix by actively pulling the bar into your back and cuing "big chest" at the start of each rep. Strengthen your upper back with rows and face pulls.
-
Rising onto toes: Indicates limited ankle dorsiflexion. Perform ankle circles, calf stretches, and elevated heel work. Temporarily place a small plate under your heels while building mobility.
-
Shallow depth: Common when mobility is limited or load is too heavy. Use box squats to train depth confidence, and reduce weight to practice the full range of motion.
Low Bar vs High Bar Squat: Which Should Beginners Use?
The two main barbell back squat variations differ in bar placement, torso angle, and muscle emphasis.
| Feature | High Bar | Low Bar |
|---|---|---|
| Bar position | Upper traps | Rear deltoids |
| Torso angle | More upright | More forward lean |
| Primary muscles | Quads | Glutes, hamstrings, posterior chain |
| Wrist/shoulder stress | Lower | Higher for some |
High bar squatting is generally easier for beginners to learn because the more upright torso requires less thoracic mobility and the mechanics feel more intuitive. It's also the default technique in most strength training programs designed for new lifters.
Low bar squatting allows heavier loads over time because the shorter moment arm reduces stress on the lower back. Powerlifters favor it for this reason. However, the bar position requires more shoulder external rotation, which can be uncomfortable until you develop the flexibility.
Recommendation: Most beginners should start with the high bar squat. Master the mechanics, build a base of strength, then consider transitioning to low bar if your goals point toward powerlifting or maximal strength.
If you haven't done any barbell work yet, the goblet squat is an excellent precursor. Holding a dumbbell or kettlebell at your chest teaches the squat pattern without spinal loading pressure, so you can groove correct mechanics before stepping under the bar.
Beginner Barbell Squat Program Tips: Progression and Safety
Smart programming accelerates your progress and keeps you training consistently without injury.
Starting weight: Begin with the empty barbell, 45 lbs, or lighter if needed. Ego-free technique work in the early weeks builds a foundation that lets you lift heavier for years. Don't add weight until every rep looks clean.
Rep and set scheme: 3 sets of 5 reps (3×5) or 3 sets of 8 reps (3×8) are both proven beginner structures. Linear progression programs like Starting Strength and StrongLifts 5×5 add small increments (5 lbs) each session, which is sustainable and effective.
Warm-up sets: Never go straight to your working weight. Use these ascending sets:
- Empty bar × 10 reps
- 50% of working weight × 5 reps
- 70% × 3 reps
- 90% × 1 rep
- Working weight × prescribed reps
Mobility prep: Before squatting, spend 5–10 minutes on ankle circles, hip flexor stretches, goblet squat holds, and leg swings. This primes your joints and grooves the pattern before loading.
When to add weight: Add weight only when you complete all sets and reps with solid form. If your form degrades with the additional load, stay at the current weight for another session.
Frequency: 2–3 squat sessions per week is ideal for beginners. This frequency allows sufficient stimulus and adequate recovery. Don't squat heavy on back-to-back days.
Pain vs soreness: Muscle soreness in your quads, glutes, and hamstrings 24–48 hours after squatting is normal — that's your body adapting. Sharp joint pain during squatting, especially in the knees or lower back, is not normal. Stop, assess your form, and consult a professional if it persists.
Frequently Asked Questions
How deep should you squat with a barbell?
You should squat to at least parallel — meaning your thighs reach a position parallel to the floor — for full muscle activation across your quads, hamstrings, and glutes. Below parallel is generally the goal, as it increases glute and hamstring recruitment and represents a complete range of motion. However, depth should never come at the cost of your neutral spine. If maintaining a neutral back means stopping just at parallel, that's the right depth for you today. Use mobility work to gradually increase your range over time rather than forcing depth with a compromised spine, which puts your lumbar discs at serious risk.
How much weight should a beginner use when learning to squat with a barbell?
Start with just the barbell — typically 45 lbs (20 kg) — or even a 35 lb training bar if the standard bar feels heavy. The goal at the start is to groove correct technique: proper stance, neutral spine, controlled descent, and powerful drive through the floor. Loading the bar before your mechanics are solid is one of the most common beginner mistakes. It reinforces faulty patterns under stress and increases injury risk. Spend your first two to four sessions mastering form with minimal weight. Your ego will recover; a herniated disc takes much longer.
Is it normal for your knees to hurt when barbell squatting?
Some general discomfort around the knee during the learning phase can occur as your joints adapt to new loading patterns. However, sharp, persistent, or worsening knee pain is not normal and should never be ignored. Common causes include knee cave (valgus collapse), improper tracking of the knee over the foot, excessive forward lean of the shin, or squatting with a weight that's too heavy for your current form. If you experience knee pain, reduce the load, record your squat from the side and front to assess tracking, and consider consulting a physiotherapist or certified strength coach before continuing.
What is the difference between a squat rack and a power rack for barbell squats?
A power rack (also called a cage) has four vertical uprights that fully enclose the lifter, with adjustable horizontal safety bars on each side. If you fail a rep, the bar lands on the safeties — not on you. This makes it the safest option for squatting without a spotter. A squat rack (or half rack) has two uprights, is more open, and typically lighter and more space-efficient. It offers less protection if you miss a lift because there are no safety bars at your squat depth. For beginners training alone, the power rack is strongly recommended. Set the safety bars just below your parallel position.
How do I improve my squat depth if I lack flexibility?
Limited depth usually traces back to restricted ankle dorsiflexion, tight hip flexors, or limited hip mobility. To address this, incorporate these drills before every squat session: ankle circles, wall ankle stretches, hip flexor lunges, pigeon pose holds, and deep goblet squat holds (holding a light weight at your chest while sitting in the bottom position). As a short-term solution, elevating your heels slightly on a plate or wearing heeled squat shoes reduces the ankle mobility demand and lets you achieve better depth right away. Use the elevation as a training tool — not a permanent fix — while your mobility work takes effect over weeks and months.
💪 Train smarter with f/ai — an AI coach builds a personal program for your goals and adapts as you progress. Get the app →
Try F/AI — AI Fitness Trainer
Personalized workout plans, AI trainer chat, photo body analysis.
Download for free