5 Common Barbell Squat Mistakes and How to Fix Them
Knees caving in, heels lifting, cutting depth, rounding the upper back and bracing wrong — the five squat errors that stall beginners, and the fix for each.
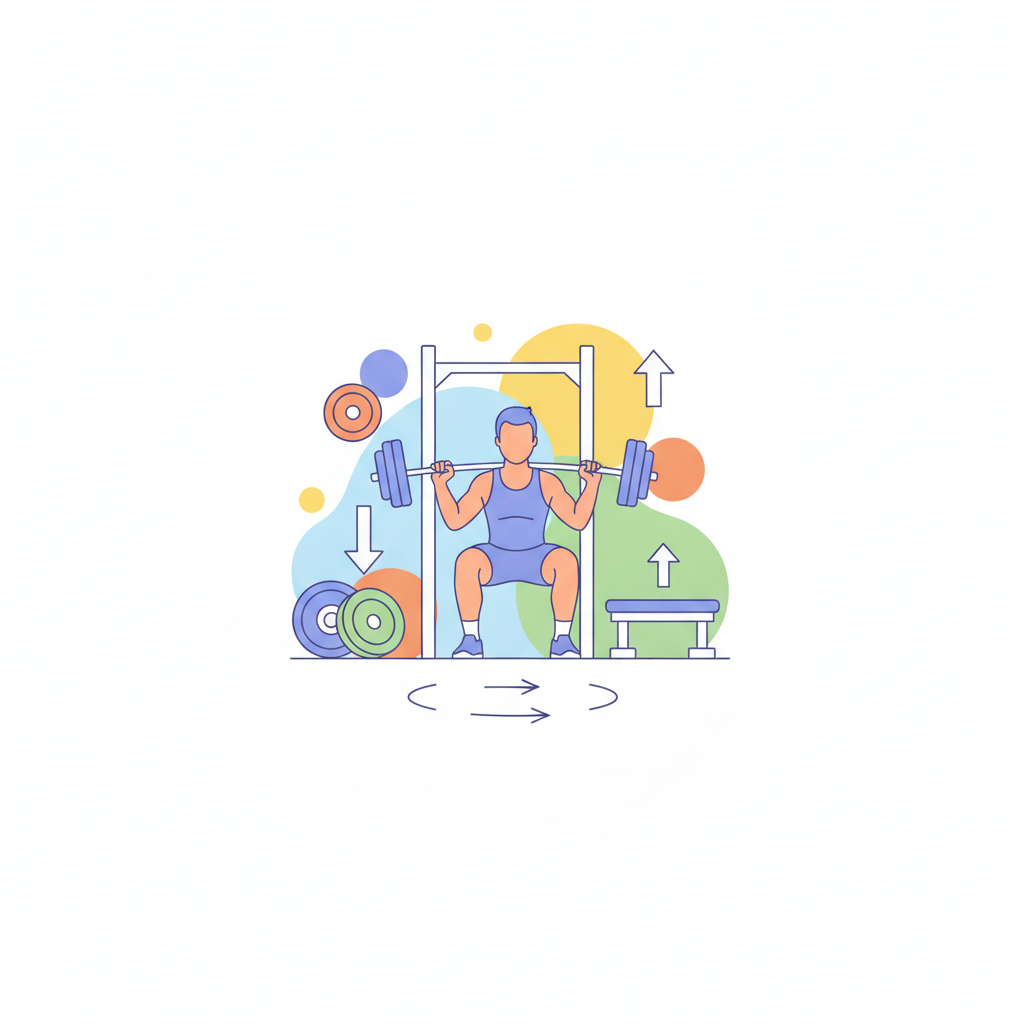
Learning how to squat with a barbell is one of the best investments you can make in your strength training. The back squat builds total-body power, develops your quads, glutes, and hamstrings simultaneously, and transfers directly to athletic performance and everyday movement. But it's also one of the most technique-dependent lifts in the gym. Get it wrong, and you risk injury. Get it right, and you unlock one of the most effective exercises ever developed.
This guide breaks down the five most common barbell squat mistakes beginners make — and gives you concrete, actionable fixes for each one.
Why Proper Barbell Squat Form Matters More Than Weight
Before you load a single plate onto the bar, understand this: how you squat matters far more than how much you squat.
Poor barbell squat form puts unnecessary stress on your knees, hips, and lower back. Valgus collapse, forward lean, and shallow depth don't just look bad — they redistribute load onto passive structures like ligaments and joint cartilage rather than the muscles designed to handle it. Over time, this creates chronic pain or acute injuries that stall your progress for months.
Correct back squat technique, on the other hand, maximizes muscle activation across your entire posterior chain and anterior legs, creates a strong foundation for progressive overload, and protects your joints under heavy load.
A proper barbell squat looks like this: bar secured on your traps, chest tall, core braced, descent controlled with knees tracking over toes, hip crease breaking below parallel, then a powerful drive back to standing. It takes time to develop, but the habits you build in your first weeks of training will define your ceiling for years.
How to Squat with a Barbell: The Basic Setup and Stance
Before fixing mistakes, nail the baseline setup:
Bar Placement — High Bar vs. Low Bar
- High bar: rests on the upper traps, directly below the cervical spine. Promotes a more upright torso and emphasizes the quads. Ideal for most beginners learning barbell squat form.
- Low bar: rests on the rear deltoids, lower on the back. Allows more forward lean, more hip drive, and typically heavier loads. Preferred in powerlifting.
Foot Position
- Shoulder-width stance is a solid starting point.
- Toes angled out 15–30 degrees accommodates your hip anatomy during the descent.
- Wider stance suits lifters with broader hips or limited ankle dorsiflexion.
Grip and Upper Back Tightness Grip the bar just outside shoulder width. Before unracking, pull the bar down into your traps by squeezing your shoulder blades together. This creates a rigid shelf and protects your spine.
Bracing Take a deep breath into your belly (not your chest), brace your core as if you're about to take a punch, and hold that pressure — this is the Valsalva maneuver. Do this before every rep. It's your spinal armor.
Mistake 1: Letting the Knees Cave Inward (Valgus Collapse)
Knee valgus — where your knees buckle toward each other during the squat — is the most common error in beginners and even intermediate lifters. It typically shows up at the bottom of the squat or during the drive phase.
Why it happens:
- Weak glutes (especially glute medius) can't stabilize the hip and keep the knee tracking properly
- Poor ankle dorsiflexion forces compensatory movement up the chain
- Fatigue causing form breakdown under load
Why it's a problem: Valgus collapse loads the medial knee joint and increases the risk of ACL, meniscus, and patellofemoral injuries over time.
Cues and fixes:
- Actively push your knees out in line with your toes throughout every rep
- Place a resistance band just above your knees during warm-up sets for proprioceptive feedback
- Perform banded squats and clamshells to isolate and strengthen the glute medius
- Add ankle mobility drills — wall ankle stretches and banded ankle distractions — to remove the root cause
Even if you're squatting light weight, drilling the "knees out" cue consistently will rewire your movement pattern long before loads get heavy.
Mistake 2: Rising onto the Toes or Heels Lifting Off the Floor
If your heels lift during the squat, or you find yourself shifting your weight forward onto your toes, your ankle mobility is limiting your squat depth tips.
Root cause: Limited ankle dorsiflexion (the ability to bend the ankle so the knee travels over the toes) forces your heels to rise as compensation. This shifts your center of gravity forward, increases forward lean, and puts extra stress on your lower back.
Immediate fix: Elevate your heels temporarily using 5–10 lb weight plates or squat wedges. This reduces the dorsiflexion demand and lets you practice correct squat mechanics while you build mobility.
Long-term fix:
- Stretch your calves (straight-leg and bent-knee) before every session
- Use a foam roller or lacrosse ball to smash tight calf tissue
- Practice the wall ankle stretch — foot close to the wall, knee driving forward — to progressively increase range of motion
- Incorporate deep bodyweight squats as a daily mobility drill
Don't rely on heel elevation forever. Treat it as a temporary scaffold while your ankles catch up.
Mistake 3: Not Reaching Proper Squat Depth
Squat depth is non-negotiable for maximizing muscle recruitment. Parallel — where your hip crease reaches the height of your knee — is the minimum standard. Below parallel (hip crease below the knee) is optimal for full glute and hamstring engagement.
Why beginners cut depth:
- Fear of losing balance or falling backward
- Hip flexor or ankle tightness physically limiting range
- Habit of stopping at a comfortable depth that doesn't feel challenging
Shallow squats dramatically reduce glute and hamstring activation and shift almost all the work to the quads — defeating the purpose of the squat.
Drills to build depth:
- Box squats: Set a box at parallel depth and sit back to it. This teaches you where parallel is without fear.
- Goblet squats: Holding a kettlebell or dumbbell at your chest counterbalances your weight, making it easier to sit deep.
- Hip flexor and adductor stretching: Couch stretch, pigeon pose, and deep squat holds address the mobility restrictions preventing depth.
Practice reaching depth with zero or minimal load before ever worrying about adding weight.
Mistake 4: Losing Upper Back Tightness and Rounding Forward
A loose upper back during the barbell squat causes the bar to drift forward, dramatically increases the moment arm on your spine, and turns a leg exercise into a lower back injury waiting to happen.
What goes wrong: Lifters either fail to create initial tightness before unracking or lose that tightness as fatigue sets in during a set.
Key cues:
- Big chest: Think about showing your chest to the wall in front of you throughout the entire lift
- Elbows down: Drive your elbows toward the floor rather than letting them flare behind you
- Tight lats: Imagine trying to protect your armpits — this engages the lats and locks your thoracic spine
Accessory work to support upper back tightness:
- Face pulls (3 sets of 15–20 reps) to strengthen rear delts and external rotators
- Barbell or dumbbell rows to build overall upper back thickness
- Thoracic mobility exercises — foam rolling the upper back and cat-cow stretches — to improve spinal extension
A strong, rigid upper back is the difference between a squat that looks powerful and one that looks like it's about to collapse.
Mistake 5: Incorrect Breathing and Bracing Technique
Breathing sounds simple. Under load, most beginners get it completely wrong.
Common errors:
- Exhaling at the bottom of the squat, releasing intra-abdominal pressure at the worst possible moment
- Breathing shallowly into the chest rather than expanding into the belly and lower back
- Holding the breath across multiple reps without resetting
The correct Valsalva maneuver, step by step:
- Take a full breath into your belly before you begin the descent — your waist should expand 360 degrees
- Brace your core hard, as if you're about to be hit in the stomach
- Hold that breath and brace throughout the entire descent and ascent
- Exhale fully only at the top of the rep, after you've locked out
- Reset your breath and brace before the next rep
For heavy singles or low-rep sets, reset completely between every rep. For higher-rep sets with lighter loads, some lifters breathe at the top of each rep — but never at the bottom.
Proper bracing creates a pneumatic cylinder of pressure around your spine. It's not optional; it's structural.
Quick-Reference Barbell Squat Form Checklist for Beginners
Use this before every squat session:
- ✅ Bar placed correctly on traps (high or low bar — your choice)
- ✅ Feet shoulder-width apart, toes angled out 15–30°
- ✅ Shoulder blades squeezed together, creating a firm shelf
- ✅ Deep belly breath taken, core braced before descent
- ✅ Knees tracking over toes throughout — not caving inward
- ✅ Heels flat on the floor for the entire rep
- ✅ Hip crease reaching or breaking parallel
- ✅ Chest tall, elbows pointed down, upper back tight
- ✅ Exhale only at the top after locking out
Practical tips:
- Film yourself from the side and rear. Self-diagnosis is nearly impossible without video feedback — form breaks you can't feel are often visible on camera.
- Start with bodyweight and the goblet squat before touching the barbell. Master the movement pattern first.
- Begin with just the bar (45 lbs) when you transition to the barbell squat. Add only 5–10 lbs per session once your technique stays consistent across all reps of all sets.
- Only progress load when form holds. Progressive overload on broken technique is just progressive injury.
Frequently Asked Questions
How low should you squat with a barbell?
You should aim to squat until your hip crease drops below the top of your knee — this is called below-parallel depth. At this depth, your glutes and hamstrings are fully recruited, making the squat far more effective than a partial range-of-motion rep. That said, individual anatomy, hip socket depth, and mobility all influence how deep you can comfortably go. If below parallel isn't accessible yet, work toward parallel first using box squats and goblet squats while addressing any mobility restrictions in your ankles and hips simultaneously.
Where should the barbell sit when squatting?
There are two standard positions. In a high bar squat, the bar rests on your upper trapezius muscles, just below the base of your neck, promoting a more upright torso position. This is typically the easiest starting point for beginners. In a low bar squat, the bar sits lower on the rear deltoids, which creates a more forward lean and allows heavier loads by engaging the hips more aggressively. Both are valid — your choice depends on your goals, mobility, and body proportions.
How do I stop my knees from caving when I squat?
Knee caving (valgus collapse) has two primary causes: weak glutes and poor ankle mobility. To fix it, incorporate glute-strengthening work like clamshells, banded squats, and single-leg exercises into your routine. Use a resistance band just above the knees during squat warm-ups to give yourself real-time feedback — the band will pull your knees in, forcing you to push out against it. Also work on ankle dorsiflexion with daily stretching. Use the cue "knees out" on every single rep, even with light weight, to build the correct motor pattern.
Should beginners use a barbell or dumbbells to learn to squat?
Beginners should start with bodyweight squats and goblet squats before progressing to a barbell. The goblet squat — holding a dumbbell or kettlebell at your chest — counterbalances your weight, naturally promotes an upright torso, and makes it easier to reach depth. It teaches you the squat pattern without the complexity of bar placement and upper back tightness. Once you can perform 3 sets of 10 goblet squats with controlled depth and no form breakdown, you're ready to transition to the barbell.
How much weight should a beginner squat with a barbell?
Start with the empty bar — typically 45 lbs (20 kg). This isn't about ego; it's about building the neuromuscular patterns, breathing habits, and positional awareness that make heavy squatting possible later. Once you can perform multiple sets with consistently good technique — knees out, depth at or below parallel, chest tall, braced core — add 5–10 lbs per session. Small, consistent jumps compound quickly. A beginner who adds 5 lbs per workout will squat over 200 lbs within a few months, and they'll do it safely.
💪 Train smarter with f/ai — an AI coach builds a personal program for your goals and adapts as you progress. Get the app →
Try F/AI — AI Fitness Trainer
Personalized workout plans, AI trainer chat, photo body analysis.
Download for free