8-Week Barbell Squat Program for Beginners: Sets, Reps and Weight Jumps
A full eight-week barbell squat schedule with sets, reps and weekly load increases, plus the accessory work that supports it.
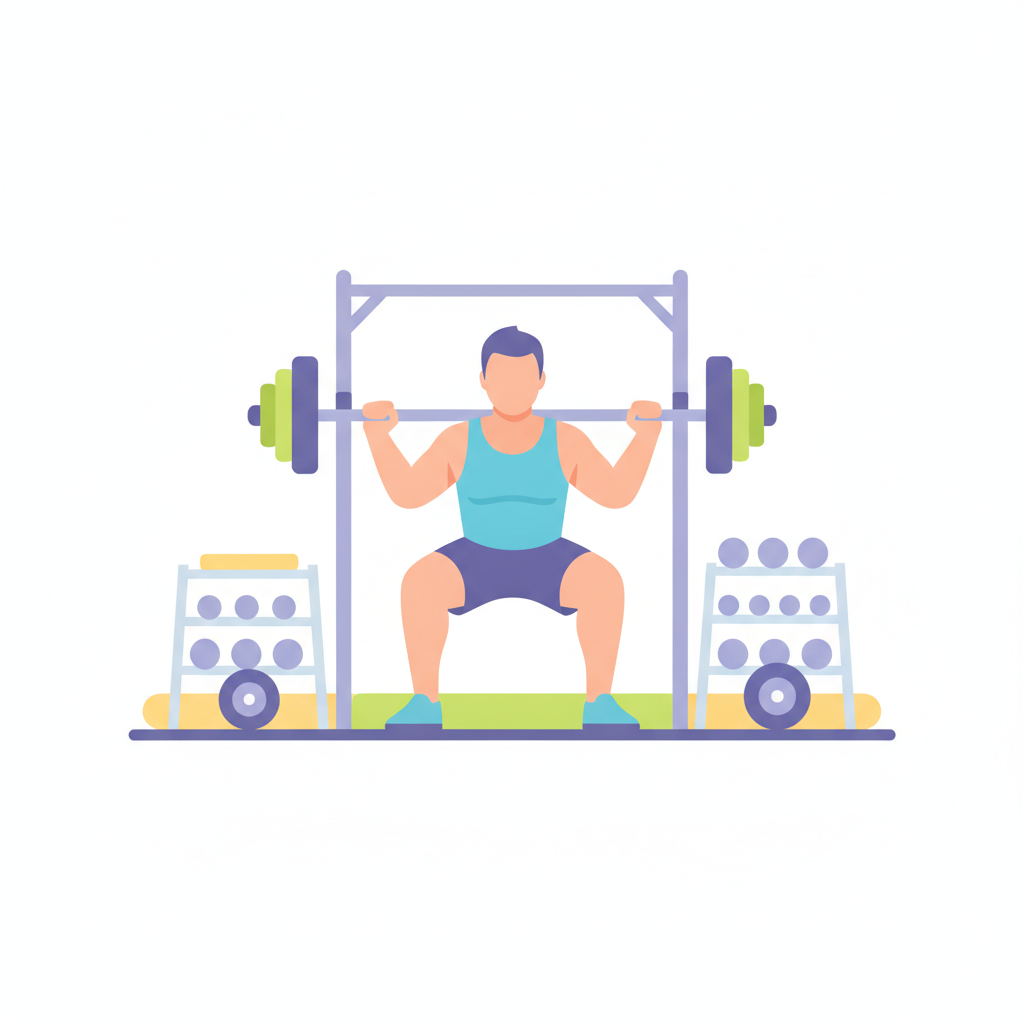
The barbell squat is the single most productive movement you can put in a beginner training plan. It builds muscle across your entire lower body, strengthens your core, and gives you a clear number to chase every session. The problem is that most beginners either skip it out of intimidation or load the bar before they understand the pattern — and then wonder why their knees hurt. This guide solves both issues. You will get a precise technique breakdown, an honest answer on how much weight to start with, and a complete 8-week barbell squat programme built around safe, measurable progression.
Why the Barbell Squat Should Be the Foundation of Your Training
No other single exercise trains as many muscles at once as the barbell back squat. In one movement you are loading your quadriceps, glutes, hamstrings, adductors, spinal erectors, and core — all under meaningful tension. That simultaneous recruitment triggers a systemic hormonal response, including elevated testosterone and growth hormone, that isolation exercises simply cannot replicate. Leg extensions work your quads. Squats build your body.
From a practical standpoint, the squat also gives you the clearest possible baseline. Week one you squat 40 kg for five reps. Week eight you squat 70 kg for five reps. That number does not lie. Beginners benefit enormously from objective feedback because motivation is easier to sustain when progress is visible and concrete.
This 8-week programme is structured around three principles:
- Skill first — the early weeks treat the squat as a technical practice, not a test of maximum effort
- Linear progression — you add a small, fixed amount of weight every session while form holds
- Built-in deload — recovery is scheduled, not guessed at
By week eight you will have established a genuine five-rep max baseline and the technique foundation to move into intermediate programming confidently.
How to Squat with a Barbell: Step-by-Step Technique Guide
Getting your barbell squat form right from the start saves you months of corrective work later. Here is exactly how to set up and execute every rep.
Bar placement: For a high-bar squat, rest the bar on your upper traps, just below the C7 vertebra. For a low-bar squat, it sits across your rear deltoids, roughly 5 cm lower. Beginners should start with high-bar — it is more forgiving and transfers well to other lifts.
Foot position: Stand with feet roughly shoulder-width apart, toes pointed out between 15 and 30 degrees. This is not one-size-fits-all — your hip anatomy matters — but this range works for most people starting out.
Brace before you move: Before you descend, take a deep breath into your belly, brace your core as if you are about to take a punch, and create full-body tension. This intra-abdominal pressure protects your spine under load. Do not skip it.
Descent cues:
- Push your knees out in the direction of your toes
- Hinge slightly at the hip as you break parallel
- Keep your chest up and your gaze forward
- Aim for depth where your hip crease drops below the top of your knee
Ascent cues:
- Drive through your whole foot — heel, mid-foot, and ball
- Push the floor away rather than thinking about standing up
- Keep your chest up; do not let your hips shoot back faster than your torso rises
Common beginner errors and fixes:
| Error | Fix |
|---|---|
| Knees caving inward | Cue "knees out" and add goblet squats to warm-up |
| Excessive forward lean | Check ankle mobility; elevate heels temporarily |
| Shallow depth | Slow your descent; add pause squats at the bottom |
| Holding breath incorrectly | Practice brace technique with bodyweight only |
How Much Weight Should a Beginner Start With
The single most common beginner mistake in barbell training is loading the bar based on ego rather than ability. Here is a rational approach.
Start by performing ten bodyweight squats. If your form breaks down — heels rise, knees cave, depth is missing — address those movement quality issues before adding any load. Once you can squat cleanly with your bodyweight, pick up the barbell.
Start with the empty bar. A standard Olympic barbell weighs 20 kg. If that feels genuinely challenging, use a lighter 10–15 kg training bar. There is no shame in this — it is the most productive thing you can do.
To find your working weight, use RPE (Rate of Perceived Exertion) on a scale of one to ten. Your Week 1 working weight should feel like a 6–7 out of 10. You should complete every rep cleanly with something clearly left in reserve.
Rough starting weight guidelines by background:
- Sedentary with no training history: Empty bar or 25–30 kg total
- Recreationally active but no barbell experience: 30–50 kg total
- Some gym background, limited squat history: 50–70 kg total
If you load too heavy early, your technique breaks down, your joints absorb forces they are not ready for, and your progress stalls within two to three weeks. Start conservatively and let linear progression do the work.
The 8-Week Barbell Squat Programme: Full Schedule and Sets
This beginner squat programme runs three sessions per week with at least one rest day between sessions (for example, Monday, Wednesday, Friday).
Weeks 1–2: Technique Foundation
- 3 sets × 5 reps at RPE 6–7
- Focus is form, not load
- 3-minute rest between sets
- Warm-up: 2 sets × 5 with empty bar, then 1 set × 3 at 60% of working weight
Weeks 3–4: Load Introduction
- 3 sets × 5 reps; add 2.5–5 kg per session when all reps are clean
- Add 2 sets of pause squats (3-second hold at bottom) as an accessory after main sets
- Rest: 3 minutes between working sets
Weeks 5–6: Volume Increase
- 4 sets × 5 reps; structure as one top set at the day's target weight, then 3 back-off sets at 90% of that
- This top-set / back-off model builds intensity tolerance without grinding you into the ground
Weeks 7–8: Testing and Baselining
- Week 7: 3 sets × 3 at near-max effort (RPE 8–9)
- Week 8, Session 1: Attempt a new 5-rep max
- Week 8, Sessions 2–3: Lighter technique work; record your tested 5RM as the baseline for your next block
Session structure every day:
- 5 minutes dynamic warm-up (leg swings, hip circles, bodyweight squats)
- Progressive warm-up sets
- Main squat work
- Accessory exercises
- Cool-down and mobility
How to Increase Weight on the Barbell Squat Progressively
Linear progression means adding a fixed, small increment to the bar every session for as long as possible. For beginners, this is the most powerful tool available because your neuromuscular system is adapting rapidly and can handle frequent new stimuli.
The basic rule: Add 2.5 kg per session. Over eight weeks training three times per week, that compounds to 60 kg of added total load — extraordinary progress for any beginner.
When to repeat the same weight: If you miss reps on your working sets — meaning you cannot complete the prescribed reps with good form — repeat the same weight next session. Do not progress until you hit all reps cleanly. One repeat session is normal. If you need three in a row, reduce the load by 10% and rebuild.
Micro plates matter: Invest in 1.25 kg micro plates. They allow you to make 2.5 kg total jumps (adding 1.25 kg to each side) rather than forcing a 5 kg jump when 2.5 kg feels too big. Small jumps keep you progressing longer.
Signs you are ready for intermediate programming:
- Linear progression stalls repeatedly despite good sleep, nutrition, and technique
- You can no longer recover fully between sessions
- Your five-rep max is at or above 1 × bodyweight
Track everything. A simple notebook or a training app works. Log date, weight, sets, reps, and a brief form note. Patterns in your data will tell you more than any feeling in the moment.
Accessory Exercises to Support Your Squat Progress
Your barbell back squat progress is only as good as the supporting structures around it. These accessories directly target weaknesses common in beginners:
- Goblet squat — use on off days or as a warm-up drill; reinforces upright torso position and hip depth without spinal loading
- Romanian deadlift — builds posterior chain strength (hamstrings and glutes) that transfers directly to your squat's ascent phase; 3 sets × 8–10 reps
- Leg press — useful supplemental volume if your legs are not recovering adequately from squats alone; does not replace the squat
- Planks and dead bugs — direct core work that trains the bracing pattern you use under the bar; 3 sets each, 30–45 seconds
- Ankle circles and banded ankle mobilisation — ankle restriction is one of the most common causes of poor squat depth; two minutes per ankle before every session makes a measurable difference within weeks
Build these into your programme consistently rather than treating them as optional extras. They are not optional if you want your squat to keep moving forward.
Safety Tips, Recovery and Common Beginner Mistakes to Avoid
Squatting with a barbell is safe when done correctly. The following practices make it safer still.
Use a squat rack properly. Set your safety bars at the depth your hips reach at the bottom of your squat, minus a few centimetres. If you fail a rep, you can descend below parallel and let the bar rest on the safeties. Practice this with an empty bar so it does not feel foreign in a real miss.
Warm up every session. Five minutes of dynamic movement followed by progressive warm-up sets is non-negotiable. Cold muscles under load invite injury.
Sleep and nutrition are part of your programme. You do not build strength during training sessions — you build it during recovery. Aim for seven to nine hours of sleep per night and eat enough protein (roughly 1.6–2.2 g per kg of bodyweight per day) to support tissue repair.
Know the difference between muscle soreness and pain. Delayed onset muscle soreness (DOMS) is dull, diffuse, and peaks 24–48 hours after training. Pain from injury is sharp, localised, and often present during the movement itself. Stop the session and assess if you feel the latter.
Deload when you need to. After the 8-week block, take one week at 50% of your working loads. Deloads are not lost weeks — they are where consolidation happens. Skipping them is how beginners stall prematurely.
Frequently Asked Questions
How do I know if my barbell squat form is correct?
The most reliable way to assess your barbell squat form is to film yourself from the side and from the front. Key checkpoints to review: your spine should remain in a neutral position throughout the movement with no rounding at the lower back; your knees should track directly over your toes and not cave inward; your hip crease should drop at or below the top of your knee at depth; and your descent should be controlled rather than collapsing. From the front, both feet should stay flat on the floor. If you are unsure what you are seeing, compare your footage against a reliable coaching resource or use an AI coaching tool that can provide movement feedback. Filming is not vanity — it is the cheapest form of coaching available to you.
How much weight should I add to the bar each week as a beginner?
As a beginner following linear progression, aim to add 2.5 to 5 kg per session, not per week. Training three times per week, that means potential increases of 7.5 to 15 kg weekly — which sounds aggressive but is entirely realistic in the first few months because neurological adaptation drives most early-stage strength gains. Use 1.25 kg micro plates to make smaller jumps (2.5 kg total) when 5 kg feels too large. The rule is simple: if all your reps were clean and felt like a 7 out of 10 or below, progress next session. If form degraded or it felt like a 9, repeat the weight. Never chase a number at the expense of technique.
How many times a week should a beginner squat with a barbell?
Three sessions per week is the optimal frequency for beginners learning the barbell squat. At this stage, you are primarily improving your movement pattern rather than just your raw strength, and the squat is a skill that improves with repeated, quality practice. Three sessions per week gives you frequent enough exposure to reinforce the motor pattern while allowing 48 hours of recovery between sessions. Once per week is insufficient — you essentially re-learn the movement each session. Twice is acceptable but slower. Four or more sessions per week is unnecessary and accumulates too much fatigue before your connective tissue has adapted. Three days, three sessions, consistent execution.
What if I cannot reach parallel depth when squatting?
Inability to reach parallel depth is almost always caused by one of two things: limited ankle dorsiflexion or limited hip mobility. To identify which is limiting you, elevate your heels on small weight plates or a wedge and squat again. If depth immediately improves, your ankles are the primary restriction. Heel elevation is a legitimate short-term fix while you work on ankle mobility. Daily banded ankle stretches, calf stretching, and ankle circles before training will produce measurable improvement within four to six weeks. Goblet squats performed with a slow, deliberate descent are the best drill for improving depth because the counterbalance of the weight in front allows you to sit into the bottom position safely. Do not force depth under a barbell load before your mobility supports it.
Is it safe to squat with a barbell without a spotter?
Yes, squatting without a spotter is safe when you use a squat rack with safety pins or safety bars set at the correct height. Set them so that when the bar rests on the safeties, it is just below your hip crease depth at the bottom of your squat — this allows the bar to sit safely without trapping you underneath. Practice a controlled bail with an empty bar before you need to do it under real load: descend, let the bar onto the safeties, and step out from under it. Knowing how to fail safely removes the danger. A spotter adds an extra layer of confidence, particularly when testing near-maximal weights, but is not required for standard programme work provided your rack is set up correctly.
💪 Train smarter with f/ai — an AI coach builds a personal program for your goals and adapts as you progress. Get the app →
Try F/AI — AI Fitness Trainer
Personalized workout plans, AI trainer chat, photo body analysis.
Download for free